


Your cart is currently empty!
what can cause iPhone having Blurry Camera issue
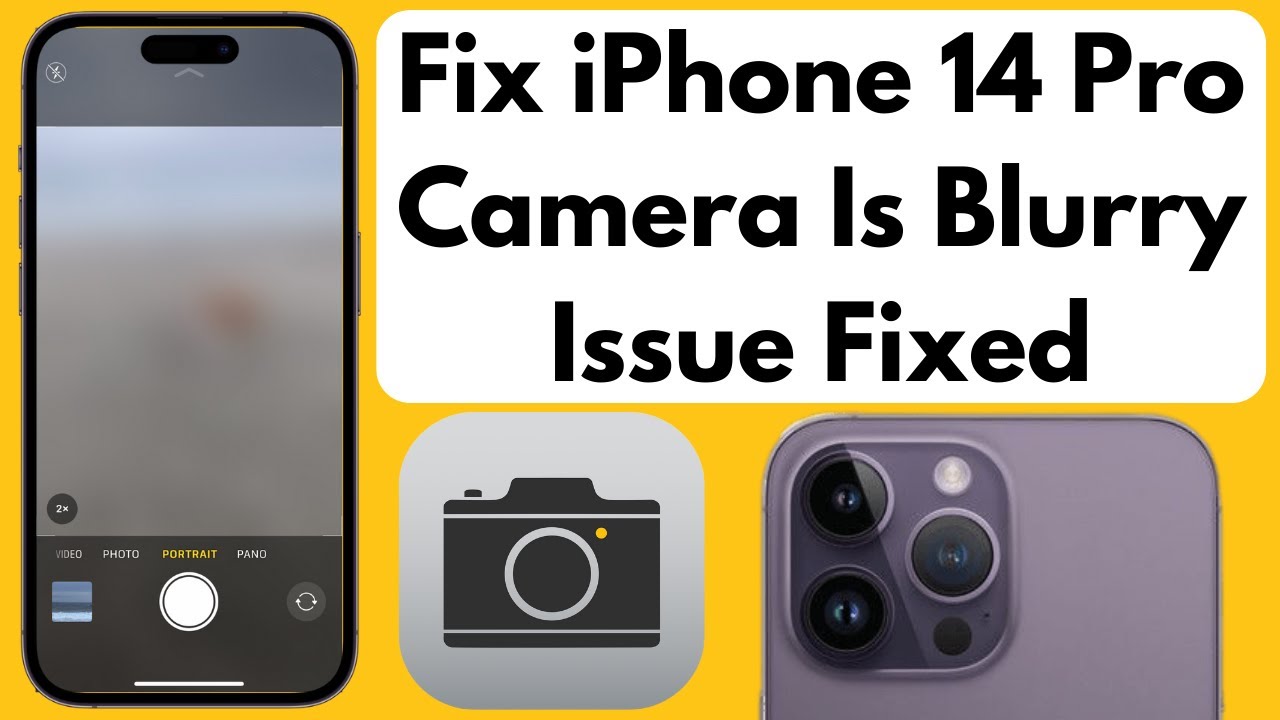
Overview
When you wanted to shoot a high-quality photo, do you recall having to bring along a whole other device? Perhaps you don’t, but that’s pretty much history now that we have smartphones. Unless, of course, the camera cannot capture a clear image due to the hazy results. Don’t let a subpar camera prevent you from taking advantage of a fantastic shot. Continue reading to straighten yourself out!
First Actions
These are some basics to get you started before taking on any of the more involved options below.
Give your phone a restart. What can be resolved with a quick power on and off is incredible.
Tap the image preview on the screen to try to capture a picture. The camera will then focus on the area that you touched as a result. Although iPhones typically do a pretty good job anticipating intended emphasis, adding a little extra instruction can help.
Make sure you are using the intended camera. The image seen on the screen can be from the front-facing camera instead of the back or the opposite.
Close the camera app by force. It might just be hanging on something, which might be fixed by restarting the application.
Check the iPhone camera app to see whether the image is sharper if you’re using a third-party app. Other apps with built-in cameras may not always utilize Apple’s software tweaking or the hardware’s full potential.
1. The camera is blocked.
Your camera requires a direct line of sight to the image you’re attempting to photograph to snap pictures. When your finger is obstructing your camera, it can be particularly difficult to notice that it is there.
You can use a microfiber towel to clean the glass lens of your cameras. It’s possible that debris on the glass is obscuring the camera or producing hazy images.
If the front-facing camera is giving you trouble, ensure your screen protector is out of the way.
Examine the camera location for any glass damage. Even if the camera is in great working order, the quality of the images may be compromised by a cracked glass covering the sensor. In many situations, it is possible to repair this glass alone—the remainder of the rear glass need not be changed.
Two Inaccurate Camera Parameters
These days, an iPhone may contain two, three, or four camera sensors, so figuring out where the problem is might be more difficult.
Press the button to switch between the front-facing and rear-facing cameras to ensure you use the correct camera.
Verify the mode you are in. The image may appear inaccurate if you are not using a mode designed for your surroundings (e.g., Portrait mode when you are not photographing a portrait).
3 Buggy Software The camera may not function properly if there are bugs in the software. Ensure it’s not just a simple software glitch before opening your phone to remove parts.
Try a different app that has a camera feature integrated in.
If the camera is functional in other areas, use the App Switcher to end the troublesome app.
Try to reproduce the problem by opening the impacted app again. Check the App Store for updates and install them if it happens again. If there are no updates available, uninstall and reinstall the app.
It can be an operating system problem if it is also unresponsive in other areas. To search for and install any updates, use a Mac or a PC equipped with iTunes.
Make sure you have a recent backup, and restore your phone using a computer to guarantee a new copy of the operating system is utilized to completely rule out software. This will erase all of the phone’s data. To keep testing restricted to a bare OS, try first without restoring your backup.
4. Optical image stabilization that is damaged
Optical image stabilization is a feature used by the majority of iPhone cameras that face back. To prevent fuzzy photos, the camera uses gyroscope readings to try to adjust for camera movement when you take a picture. This mechanism is susceptible to malfunctioning if it is repeatedly exposed to high vibration or a significant drop.
The camera usually appears to shake when there is Block Image Damage. It might even be audible or visible to you as it moves within the housing.
The best solution for this is to replace the rear camera. The camera’s internal electronics and tiny electromagnets regulate the movement of the sensor. It takes a lot of effort and time to repair those.
Steer clear of options requiring a powerful magnet to your camera setup. It might fix the problem, but you risk damaging the rest of your phone if the magnet comes loose.
YouTuber Luke Miani made a software bug in the iPhone 14 Pro and Pro Max public at launch. In some third-party apps, optical image stabilization might not work. As a result, there was an audible rattling from the cameras’ extreme vibrations. In the end, a software update fixed this. If you haven’t already, make sure to review the software-related troubleshooting procedures.
5. Broken Camera
Numerous additional camera-related issues could be the cause of this. Problems with one of the numerous camera sensors can lead to problems with the others or the entire system for taking pictures.
Examine the front-facing camera or other camera modes to determine which camera is broken. Check to see if other apps are impacted as well.
Change the problematic camera or camera part. Note: Replacing the camera on an iPhone 12 or later model can cause a warning regarding genuine parts to appear. Replacing the front-facing camera will also disable Face ID.
6. Fluid Damage
It is a complete fiction that many iPhones are waterproof, despite popular belief to the contrary. Water finds its way through increasing degrees of resistance.
Look for condensation on the lens of your camera. It usually gathers above the glass shielding the camera sensor.
Condensation in the camera could be a sign of a more significant liquid leak into your phone. For the best chance of reducing any damage, forgo the rice and use the iPhone Liquid Damage Guide.
Liquid Damage Repair for iPhone
Liquid Damage Repair for iPhone
To fix your iPhone if it has unintentionally come into contact with liquids, follow this guide. Since liquid damage usually worsens with time, acting quickly is advisable to prevent it. However, liquid damage is one of the more difficult DIY repairs to perform, so before pulling out your equipment, you might want to speak with a professional if you’re hesitant or need access to critical data on your phone.
For comprehensive disassembly instructions, consult the iPhone repair guides tailored to your model throughout this tutorial.
Although this instruction was created for iPhones, the process should be quite similar for any other smartphone.
You will also need isopropyl alcohol and a container large enough to submerge the logic board of your iPhone.
The alcohol isopropyl is quite flammable. Carry out this process in a space with enough ventilation. During this process, avoid smoking and working close to an open flame.
The foundations of liquid damage restoration are covered in this guide. Watch this video for a discussion on more sophisticated fixes. Check restore this guide if you want to see another one that disassembles a corroded phone.
7. Logic Board
The bulk of an iPhone’s functionality is centralized in the logic board. An issue of this kind could be caused by any number of the tiny parts on the board failing or getting damaged.
A large drop, electrical damage, liquid contact, or even flexion from being repeatedly shoved into your pocket can all harm your board. Examine your board for any bent areas, burnt or liquid areas, or loose parts.
By following the relevant logic board tutorial for your iPhone model, you can examine your logic board.
The camera connectors and any parts surrounding them should be closely observed.
For a do-it-yourselfer with a board malfunction, replacing the logic board is frequently the most workable remedy.
If you’re particularly ambitious, you can use micro-soldering to fix the tiny parts on the board. It’s an art in and of itself, but it’s a worthwhile attempt for the daring. Here are some recommended books and videos to get you started if you want to learn more about micro-soldering.


Leave a Reply